This is a recommends products dialog
Top Suggestions
Starting at
View All >
Language
French
English
ไทย
German
繁體中文
Country
Hi
All
Sign In / Create Account
language Selector,${0} is Selected
Register & Shop at Lenovo Pro
Register at Education Store
Pro Tier Benefits
• Save up to an extra 5% on Think everyday pricing• Spend RM$25,000, advance to Plus Tier with increased benefits
Plus Tier Benefits
• Save up to an extra 8% on Think everyday pricing• Spend RM$75,000, advance for free to Elite Tier with increased benefits
• Take advantage of flexible payment options with TruScale Device as a Service.
Elite Tier Benefits
• Save up to an extra 12% on Think everyday pricing• Take advantage of flexible payment options with
TruScale Device as a Service.
Reseller Benefits
• Access to Lenovo's full product portfolio
• Configure and Purchase at prices better than Lenovo.com
• Access to Lenovo's full product portfolio
• Configure and Purchase at prices better than Lenovo.com
View All Details >
more to reach
PRO Plus
PRO Elite
Congratulations, you have reached Elite Status!
Pro for Business


TEMPORARILY UNAVAILABLE
DISCONTINUED
Temporary Unavailable
Cooming Soon!
. Additional units will be charged at the non-eCoupon price. Purchase additional now
We're sorry, the maximum quantity you are able to buy at this amazing eCoupon price is
Sign in or Create an Account to Save Your Cart!
Sign in or Create an Account to Join Rewards
View Cart
Wow, your cart is empty!
Remove
items in cart
Fill it in with great deals
Some items in your cart are no longer available. Please visit cart for more details.
has been deleted
Please review your cart as items have changed.
of
Contains Add-ons
Proceed to checkout
Yes
No
Popular Searches
What are you looking for today ?
Quick Links
Recent Searches
Hamburger Menu
-
Lenovo Pro Business Store{{loyaltyMsg}}
Lenovo Pro Business Store
Lenovo Pro Business Store -
Lenovo Education{{loyaltyMsg}}
Lenovo Education Store
Lenovo Education -
WishList
 WishList
 -
Contact Us
{{contactNumber}}
Contact Us
Sales:
Business:
Whatsapp Number: +60166999910
Order Support:
-
Lenovo Pro Business Store{{loyaltyMsg}}
Lenovo Pro Business Store
Lenovo Pro Business Store -
Lenovo Education{{loyaltyMsg}}
Lenovo Education Store
Lenovo Education -
WishList
WishList
-
Contact Us
{{contactNumber}}
Contact Us
Sales:
Business:
Whatsapp Number: +60166999910
Order Support:
-
Lenovo Pro Business Store{{loyaltyMsg}}
Lenovo Pro Business Store
Lenovo Pro Business Store -
Lenovo Education{{loyaltyMsg}}
Lenovo Education Store
Lenovo Education -
WishList
WishList
-
Contact Us
{{contactNumber}}
Contact Us
Sales:
Business:
Whatsapp Number: +60166999910
Order Support:

skip to main content
-
Account{{userInfo.userNameAbb || ''}}Hi , {{userInfo.firstName}}!
Sign In / Create Account
Account
Sign in / Create Account
Keep track of your wishlist, orders, and My Lenovo rewards, all in one place

Access your orders, subscriptions, saved carts, rewards balance, and profile

Create a wishlist of your favorite products

View & track your orders
Register your product and/or update your warranty dates
Sign out
-
Cart
{{cartCount}}
Cart
-
Account{{userInfo.userNameAbb || ''}}Hi , {{userInfo.firstName}}!
Sign In / Create Account
Account
Sign in / Create Account
Keep track of your wishlist, orders, and My Lenovo rewards, all in one place
Access your orders, subscriptions, saved carts, rewards balance, and profile
Create a wishlist of your favorite products
View & track your orders
Register your product and/or update your warranty dates
Sign out
-
Cart
{{cartCount}}
Cart
-
Deals
- Laptop Deals ThinkPad T14s Gen 4 (14" Intel) Yoga 9i 2-in-1 (14'', Gen 9) IdeaPad Pro 5i (14'', Gen 9) ThinkPad X1 Carbon Gen 12 Legion Pro 5i (16", Gen 9)
-
Last Chance DealsThinkPad X1 Carbon Gen 11 (14″ Intel) ThinkPad E14 Gen 5 (14" AMD) IdeaPad Slim 3i (15", Gen 8) ThinkPad X13 Gen 4 (13″ AMD) ThinkPad P14s Gen 4
-
Ready to Delivery
-
Laptops
-
Explore LaptopsBusiness Laptops Gaming Laptops Student Laptops Workstations Customize your laptop Clearance Sale
-
By BrandThinkPad ThinkBook LOQ Legion Yoga IdeaPad
-
Best Selling LaptopsThinkPad X1 Carbon Gen 12 Legion Pro 5i (16", Gen 9) Lenovo LOQ 15IAX9 Yoga Book 9i (13", Gen 9) IdeaPad Pro 5i (14'', Gen 9)
-
-
Desktops
- Desktop Deals Business Desktops Workstations Tiny Desktops Filter Desktops by Specs Lenovo Pro Desktops Offer
-
By BrandThinkCentre Legion
-
Best Selling DesktopsThinkCentre M70s Gen 3 ThinkCentre ThinkCentre M70q Gen 3 ThinkCentre M75q Gen 2 ThinkCentre M70t Gen 3 (Intel) Lenovo ThinkCentre M90a Gen 5 (24″ Intel)
-
Gaming
-
Explore GamingGaming Deals Build Your Own Gaming Laptops Gaming Desktops Gaming Monitor Legion Laptops and Desktops Gaming Accessories Legion Go
-
Trending NowLegion Pro 5i (16'', Gen 9) Legion 5i (16'', Gen 9) Legion 9i (16'', Gen 9) Legion Pro 7i (16'', Gen 9) Legion Slim 5 (16", Gen 9) Legion 7i (16'', Gen 9) Lenovo LOQ 15IAX9I Lenovo LOQ 15IAX9 Lenovo LOQ 15IRX9
-
-
Tablets
-
Explore TabletsAndroid Tablets Tablet Accessories Tablet Deals Shop All Tablets
-
Find My TabletTablets for Kids Tablets for Gaming Business Tablets
-
Best Selling TabletsLenovo Tab M8 Gen 4 2024 (8″ MTK) Lenovo Tab M10 Gen 3 Lenovo Tab M11 (11″ MTK) Lenovo Tab P11 Gen 2 Lenovo Tab P12 Tablet
-
-
Workstations
- Explore Workstations Desktop Workstations Mobile Workstations View all Workstations Filter Workstation by Specs Lenovo Pro Workstations Offer
-
Best SellingMobile Workstation P16s G2 ThinkPad P16s Gen 2 (16 inch AMD) Mobile Workstation ThinkPad P14s Gen 4 (14″ Intel) ThinkPad P16 Gen 2 (16″ Intel) mobile workstation ThinkPad P1 Gen 6 (16″ Intel)
-
Accessories
-
Monitors
-
Monitors by SizeMonitors Less than 23" 23" - 24" Monitors 27" - 28" Monitors 29" or More
-
Explore MonitorsGaming Monitors Home Monitors Office Monitors Monitors for Professionals Business Monitors Docking Monitors
-
Monitors by Resolution & Shape4K Monitors QHD Monitors FHD Monitors Curved & Ultrawide Monitors
-
Quick LinksMonitor Deals Shop All Monitors Monitor Accessories Tiny-in-One Monitors
-
-
Support & Solutions
-
Customer SupportSales Update drivers Search solutions Download manuals Support resources Get Technical Help
-
Order SupportEmail Support Online Chat Call Me Back Premier Support PremiumCare Accidental Damage Protection
-
Technical SupportPC Technical Support Premier Support Warranty Lookup Check Repair Status Forums Contact Us
-
-
Learn
-
Industry TrendsAI for all Cloud Computing Data Management Edge Computing Infrastructure Service
-
Partners/AlliancesAMD Solutions Intel Solutions Microsoft Solutions NVIDIA Solutions Red Hat Solutions SAP Solutions VMware Solutions
-
ResourcesSmarter infrastructure stories Lenovo Press Lenovo Xperience Newsroom
-
-
Solutions
-
Explore SolutionsBackup & Disaster RecoveryBig Data & Analytics Business Applications Client Virtualization & Infrastructure Cloud Service Provider
-
More SolutionsDatabaseDevOps Edge-AI High-Performance Computing Hybrid Cloud Lenovo Value Recovery OEM
-
Business SolutionsSAP Small and Medium Business Storage Solutions Telco Infrastructure Services Shop All Solutions
-
ResourcesSmarter infrastructure stories Lenovo Partner Hub
-
-
Servers
-
Explore by ProcessorAMD Servers Intel Servers
-
Explore ServersRack Servers Tower Servers Edge Servers High-Density Servers Mission Critical Servers Options & Accessories
-
-
Storage
-
Software-Defined Infrastructure
-
Software
-
Explore SoftwareInfrastructure Management Cloud Marketplace
-
-
Explore Services & Solutions
-
Warranty Lookup
-
PC Services
- Premier Support Plus Premier Support Premium Care Plus PremiumCare Legion Ultimate Support Replacement Parts Store Lifecycle Warranty & Protection CO2 Offset Services Lenovo Live Assistant
- Planning & Optimization Asset Management Customization Post Deployment
- Device as a Service (DaaS) Smart Lock Asset Recovery CO2 Offset Services
-
Data Center Services
-
Solutions
-
Product SolutionsAR/VR Smart Edge Workplace Solutions OEM Solutions Smart Collaboration Digital Workplace Solutions Lenovo Certified Refurbished Explore More
-
Solutions by TopicBig Data Cloud Employee Experience Productivity Remote Working Explore More
-
Solutions by IndustryRetail Education Financial Services Public Administration Explore More
-
-
Support
-
Customer SupportHelp Placing an Order Warranty Extensions Order Replacement Parts Shopping Help
-
Order SupportExisting Order Help Check Order Status Lenovo Return Policy
-
Technical SupportPC Support Data Center Support Smart Devices Support Motorola Mobile Support Forums All Technical Support
-
{"arrowColor":"#000000","backgroundColor":"#e6f4fa","sideMsg":"","data":[{"pcInfo":"","mAndTabInfo":"","bannerInfo":{"t_id":"Pageb254fd75-a62c-4492-a1ef-813901922e1e","language":{"en_my":"%3Cp%20style%3D%22text-wrap%3A%20wrap%3B%22%3E%3Cspan%20style%3D%22color%3A%20rgb(0%2C%200%2C%200)%3B%22%3E%3Cstrong%3E%3C%2Fstrong%3ELenovo%20Pro%20Members%20week%20(8%20-%2014%20May)%7C%20Enjoy%201%20week%20UPGRADE%20in%20member%20offers%20up%20to%20EXTRA%2014%25%20OFF!%20Elite%20members%20start%206%20May!%3C%2Fspan%3E%3C%2Fp%3E%3Cp%20style%3D%22text-wrap%3A%20wrap%3B%22%3E%3Ca%20href%3D%22https%3A%2F%2Faccount.lenovo.com%2Fmy%2Flenovopro%2Fen%2Fsmbaccount%2Fgatekeeper%2Fshowpage%3FipromoID%3Dhellobar_01_lpro_register%22%20target%3D%22_blank%22%20textvalue%3D%22Shop%20Now%22%20style%3D%22text-decoration%3A%20underline%3B%20color%3A%20rgb(0%2C%200%2C%200)%3B%22%3E%3Cspan%20style%3D%22color%3A%20rgb(0%2C%200%2C%200)%3B%22%3E%3Cstrong%3EShop%20Now%3C%2Fstrong%3E%3Cstrong%3E%3C%2Fstrong%3E%3C%2Fspan%3E%3C%2Fa%3E%3C%2Fp%3E","en":""},"id":"Pageb254fd75-a62c-4492-a1ef-813901922e1e"},"gInfo":""},{"pcInfo":"","mAndTabInfo":"","bannerInfo":{"t_id":"Page1dad3095-6d7c-4a0f-8a96-2c28e5f6f353","language":{"en_my":"%3Cp%3E%3Cspan%20style%3D%22color%3A%20rgb(0%2C%200%2C%200)%3B%22%3E%3Cspan%20style%3D%22text-wrap%3A%20wrap%3B%22%3E%3Cstrong%3E%3C%2Fstrong%3E%3C%2Fspan%3EJoin%20Lenovo%20Edu%20and%20enjoy%20up%20to%20RM500%20Welcome%20Discount%3C%2Fspan%3E%3C%2Fp%3E%3Cp%3E%3Cspan%20style%3D%22text-wrap%3A%20wrap%3B%20color%3A%20rgb(0%2C%200%2C%200)%3B%22%3ECall%201800-88-5266.%26nbsp%3B%26nbsp%3BWhatsapp%20Number%20-%20%2B60166999910%20%26nbsp%3B%20%26nbsp%3B%26nbsp%3B%3C%2Fspan%3E%3Ca%20href%3D%22%2Flenovo-edu%2Fstudent%2Fbenefits%2F%3FipromoID%3Dhellobar_02_edu%22%20target%3D%22_blank%22%20textvalue%3D%22Join%20For%20Free%22%20style%3D%22color%3A%20rgb(0%2C%200%2C%200)%3B%20text-decoration%3A%20underline%3B%22%3E%3Cstrong%3E%3Cspan%20style%3D%22color%3A%20rgb(0%2C%200%2C%200)%3B%22%3EJoin%20For%20Free%3C%2Fspan%3E%3C%2Fstrong%3E%3C%2Fa%3E%3Cstrong%3E%3Cspan%20style%3D%22color%3A%20rgb(0%2C%200%2C%200)%3B%22%3E%26nbsp%3B%26nbsp%3B%3C%2Fspan%3E%3C%2Fstrong%3E%3C%2Fp%3E","en":""},"id":"Page1dad3095-6d7c-4a0f-8a96-2c28e5f6f353"},"gInfo":""},{"pcInfo":"","mAndTabInfo":"","bannerInfo":{"t_id":"Pageabecefb6-dd60-4695-8021-d416db75a831","language":{"en_my":"%3Cp%3E%3Cspan%20style%3D%22text-wrap%3A%20wrap%3B%20color%3A%20rgb(0%2C%200%2C%200)%3B%22%3EReady%2C%20set%2C%20grab%20your%20PC%20in%26nbsp%3B%3Cstrong%3E3-6%20Business%20Days%3C%2Fstrong%3E%26nbsp%3Bfor%20selected%20models!%20Free%20shipping%20sitewide%2C%20no%20minimum%20Spend.%3C%2Fspan%3E%3C%2Fp%3E%3Cp%3E%3Cspan%20style%3D%22color%3A%20rgb(0%2C%200%2C%200)%3B%20text-wrap%3A%20wrap%3B%22%3E%26nbsp%3BCall%201800-88-5266.%26nbsp%3BWhatsapp%20Number%20-%20%2B60166999910%20%26nbsp%3B%20%26nbsp%3B%26nbsp%3B%3C%2Fspan%3E%3Ca%20href%3D%22%2Fd%2Fdeals%2Fquickship%2F%3FipromoID%3Dhellobar_03_quickship%22%20target%3D%22_blank%22%20textvalue%3D%22Shop%20Now%22%20style%3D%22color%3A%20rgb(0%2C%200%2C%200)%3B%20text-decoration%3A%20underline%3B%22%3E%3Cstrong%3E%3Cspan%20style%3D%22color%3A%20rgb(0%2C%200%2C%200)%3B%22%3EShop%20Now%3C%2Fspan%3E%3C%2Fstrong%3E%3C%2Fa%3E%3C%2Fp%3E","en":""},"id":"Pageabecefb6-dd60-4695-8021-d416db75a831"},"gInfo":""},{"pcInfo":"","mAndTabInfo":"","bannerInfo":{"t_id":"Pageec8d960a-953b-4e82-afee-ae86887d291c","language":{"en_my":"%3Cp%3E%3Cspan%20style%3D%22color%3A%20rgb(0%2C%200%2C%200)%3B%22%3EHello%20Summer!%20HOT%20DEALS%20AT%2040%25%20OFF!%20Grab%20the%20latest%20deals%20on%20our%20range%20of%20laptops%20from%20ThinkPad%2C%20Yoga%20and%20Legion.%20Offer%20on%20the-new%20ThinkPad%20X1%20Carbon%20and%20more!%26nbsp%3B%26nbsp%3B%3Ca%20href%3D%22%2Fd%2Fdeals%2Fspecial-offer%2F%22%20target%3D%22_self%22%20textvalue%3D%22Shop%20Now%22%20style%3D%22text-decoration%3A%20underline%3B%20color%3A%20rgb(0%2C%200%2C%200)%3B%22%3E%3Cspan%20style%3D%22color%3A%20rgb(0%2C%200%2C%200)%3B%22%3E%3Cstrong%3EShop%20Now%3C%2Fstrong%3E%3C%2Fspan%3E%3C%2Fa%3E%3C%2Fspan%3E%3C%2Fp%3E","en":""},"id":"Pageec8d960a-953b-4e82-afee-ae86887d291c"},"gInfo":""},{"pcInfo":"","mAndTabInfo":"","bannerInfo":{"t_id":"Pagecd91d8f6-67b3-4b58-862c-0c3fede12838","language":{"en_my":"%3Cp%3E%3Cspan%20style%3D%22color%3A%20rgb(0%2C%200%2C%200)%3B%22%3EThe%20all-new%20ThinkPad%20X1%20Carbon%20Gen%2012%20and%20X1%202-in-1%20laptops.%20Get%20backpack%20and%20mouse%20at%20RM1%20with%20PC%20purchase.%26nbsp%3B%26nbsp%3B%26nbsp%3B%3C%2Fspan%3E%3Ca%20href%3D%22%2Fp%2Flaptops%2Fthinkpad%2Fthinkpadx1%2Fthinkpad-x1-carbon-gen-12-(14-inch-intel)%2Flen101t0083%22%20target%3D%22_blank%22%20style%3D%22text-decoration%3A%20underline%3B%20color%3A%20rgb(0%2C%200%2C%200)%3B%22%3E%3Cstrong%3E%3Cspan%20style%3D%22color%3A%20rgb(0%2C%200%2C%200)%3B%22%3EShop%20Now%3C%2Fspan%3E%3C%2Fstrong%3E%3C%2Fa%3E%3C%2Fp%3E","en":""},"id":"Pagecd91d8f6-67b3-4b58-862c-0c3fede12838"},"gInfo":""}],"autoRun":true,"displayTerminal":"pc,tablet,mobile"}
Lenovo Pro Members week (8 - 14 May)| Enjoy 1 week UPGRADE in member offers up to EXTRA 14% OFF! Elite members start 6 May!
Join Lenovo Edu and enjoy up to RM500 Welcome Discount
Call 1800-88-5266. Whatsapp Number - +60166999910 Join For Free
Ready, set, grab your PC in 3-6 Business Days for selected models! Free shipping sitewide, no minimum Spend.
Call 1800-88-5266. Whatsapp Number - +60166999910 Shop Now
Hello Summer! HOT DEALS AT 40% OFF! Grab the latest deals on our range of laptops from ThinkPad, Yoga and Legion. Offer on the-new ThinkPad X1 Carbon and more! Shop Now
The all-new ThinkPad X1 Carbon Gen 12 and X1 2-in-1 laptops. Get backpack and mouse at RM1 with PC purchase. Shop Now
/d/deals/time-sale/?ipromoID=time_sale_topbar
TIME SALE Get extra discounts off selected products from midnight – 8am and on weekends
Shop Now
How do your screen record on Windows 10?
Did you know that you can record the content that appears on your computer display? This is a function of many smart devices, and is likewise one of those setup with Windows 10. With the feature, users can capture the media that displays on their device and save it as a video file. Pretty cool, right?
After this, you may be asking yourself, ‘How do I record my screen?’
Well, the action is surprisingly simple and easy to learn. As an essential component of any computer in this day and age, everyone should know how to screen record content on their Windows 10 devices like a pro. While some consider this daunting or too technical, it's really a simple function that anyone can master through learning the appropriate processes.
A screen recorder, sometimes called a desktop or system recorder, captures everything that appears on a computer monitor over a set period of time. This is a built-in function of Windows 10. The result of this recording is an AVI file that can be shared or posted to the internet.
Screen recording in Windows 10 is useful for many purposes. It's great for creating game playthrough videos, tutorials, sharing bug reports with support teams and more.
Among the setbacks of recording long bouts of screen activity is that it requires a lot of storage space on your computer to complete, since each AVI file will be several gigabytes in size when finished. You can reduce the file size of screencast videos by compressing them with a high-quality codec.
This tutorial is for Windows 10 users who are new to screen recording. It will detail how to screen record on windows 10, and the processes through which to do it. That being said, it's recommended that you have some basic knowledge about your operating system before getting started. This includes how to navigate through the various menus and apps on your device. If you're familiar with the basics, then read on to find out how to screen record on Windows.
How To Record Your Computer Screen on Windows 10
So, how do you screen record using your Windows 10 device? It’s actually quite simple and straightforward, and it’s done through an already existing tool within the device’s preloaded apps.
Microsoft pre-loads the Xbox Game Bar on Windows devices in order to record video games, but it's also great for other uses. The screen recording tool is included in the Xbox app, which comes preinstalled on Windows 10. The latest updates to Xbox Game Bar have made it more useful, allowing you to take screenshots and even create memes.
Unfortunately, the screen recorder software doesn't work with certain programs, such as File Manager or the entire desktop; nevertheless, it does in most applications, and those from the Windows Store.
How To Screen Record With A Windows 10 Laptop Or Desktop
This process will work for most Windows 10 laptop or desktop computers. Here, we’ll detail How to screen record on laptopor desktop formats of Windows 10, and what to expect when doing so.
Open The Appropriate Applications
To start, make sure your device is displaying the apps or content you would like to record. Then, open the recording tool by entering “Xbox” into the Windows search box. From there, open the program.
Launch Recording Tool
To initiate the process, hold Windows + G on your keyboard. This should open the Game Bar dialog. It will contain several Game Bar widgets appear with controls for taking photographs, filming video, and recording audio.
Start Program
To access the Game Bar, check the "Yes, this is a game" box. If you're screen recording a game or any other type of software, this is the related procedure.
How Do You Turn On Screen Record?
To Start screen recording with no sound, press Start Recording or Win + Alt + R. Once you've recorded your content, you must then stop it through the tool.
To stop the recording, click on the red recording bar that will be located in the top right corner of the program window. If it vanishes on you, press Win + G again to bring back the Game Bar.
That's all there is to it! The videos you've recorded, which are MP4 files, can be found in a subfolder called Captures in your Videos folder. You may also see them under the Game DVR option on the Xbox app, where you may trim and share a clip (if it's a game).
How To Set Up Screen Record With A Windows 10 Tablet
Here, we’ll teach you How to turn on screen recording for your Windows 10 tablet. This same procedure to Record your screenalso works on Windows 10 tablets, provided they have attachable keyboards. Essentially, you follow the same instructions for How to turn screen record on for laptop and desktop computers, simply with an attached keyboard through which you can execute commands.g
Alternatively, users can consider Microsoft Stream, a tool that also allows for screen recording on Windows 10. Similar to how you would have an Xbox or Microsoft Word app, this service is available as part of qualifying Microsoft 365 subscriptions.
How To Screen Record With Audio
You may also choose whether to record audio and microphone activity.
This feature of Windows 10 can be an extremely helpful time saver if you are recording a presentation or lecture of some sort. It also has the possibility to provide further convenience by allowing for more consistent access without having to attach another device just for audio.
Even better, now that you already know How to turn screen record on, this process will be quite seamless.
The basic concept of this feature is that it allows the built-in microphone to record any audio being received through your speakers. In other words, if something is playing through your computer, this feature will allow the microphone to pick up the sound and record it rather than using a secondary device for input.
In the "Capture" window, you can adjust sound settings by toggling the "Audio Record" option either on or off.
This essentially follows the same process as screen recording without audio, as initially explained, however this time includes making sure that the microphone icon is on prior to starting a recording. Once again, keep in mind that if you are using a tablet with Windows 10, this will only work if you have an attached keyboard.
Many people are initially confused regarding How to do screen recordingon their device.
Although it may appear somewhat new at first, this feature of Windows 10 is surprisingly simple, accessible and easy to use. The process is quite simple when the steps outlined are taken, and knowing how to use this function can be extremely helpful for numerous purposes.
Hopefully, this will have answered your questions regarding How to record your screenon Windows 10.
Regardless of what questions or inquiries you may have about your devices, Lenovo is here to help. We have beyond the expertise necessary to help you tackle tech questions both big and small, so don't hesitate to further explore our FAQs.
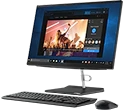
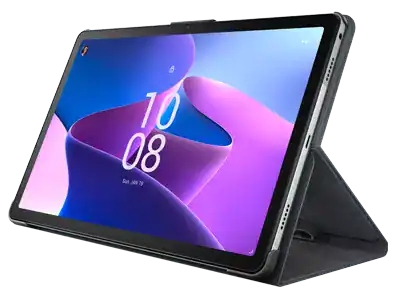
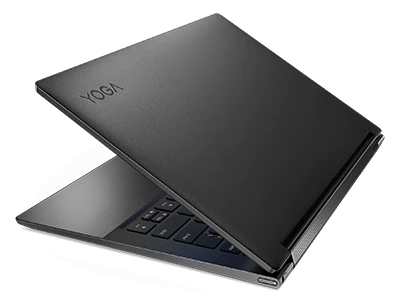
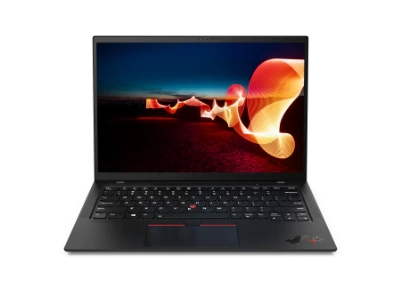
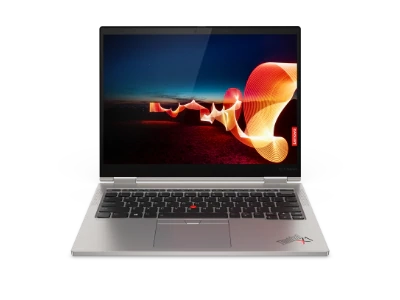
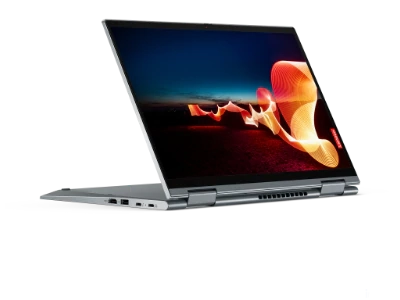
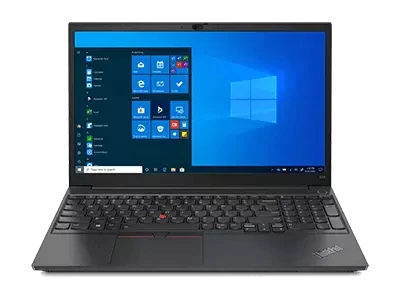
Shop Related Products
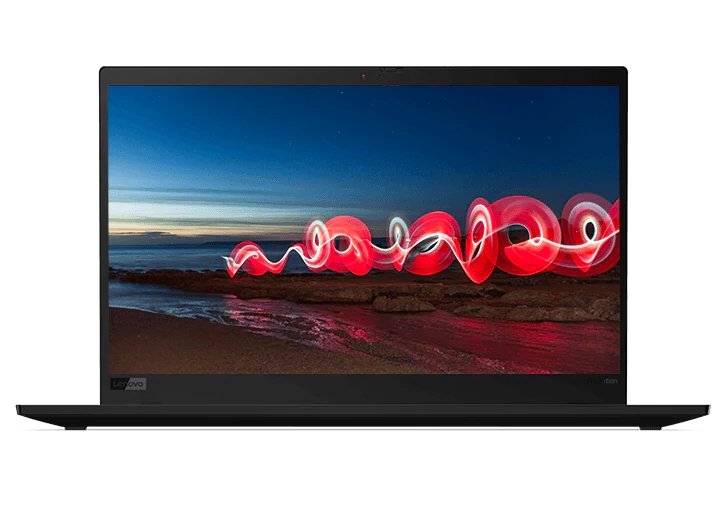
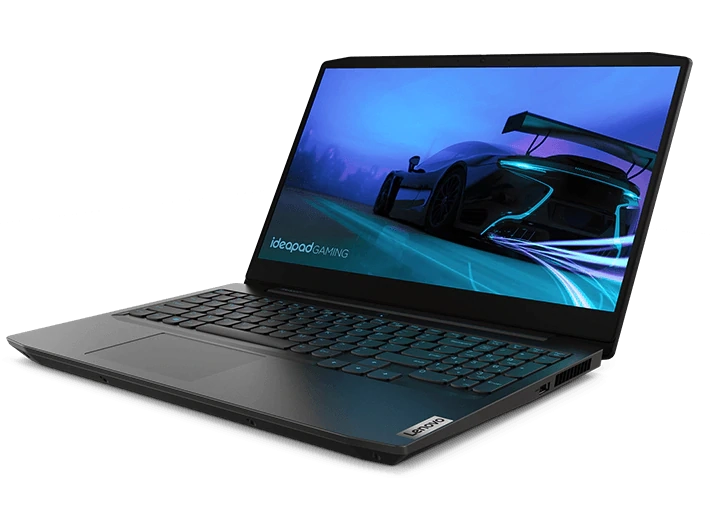
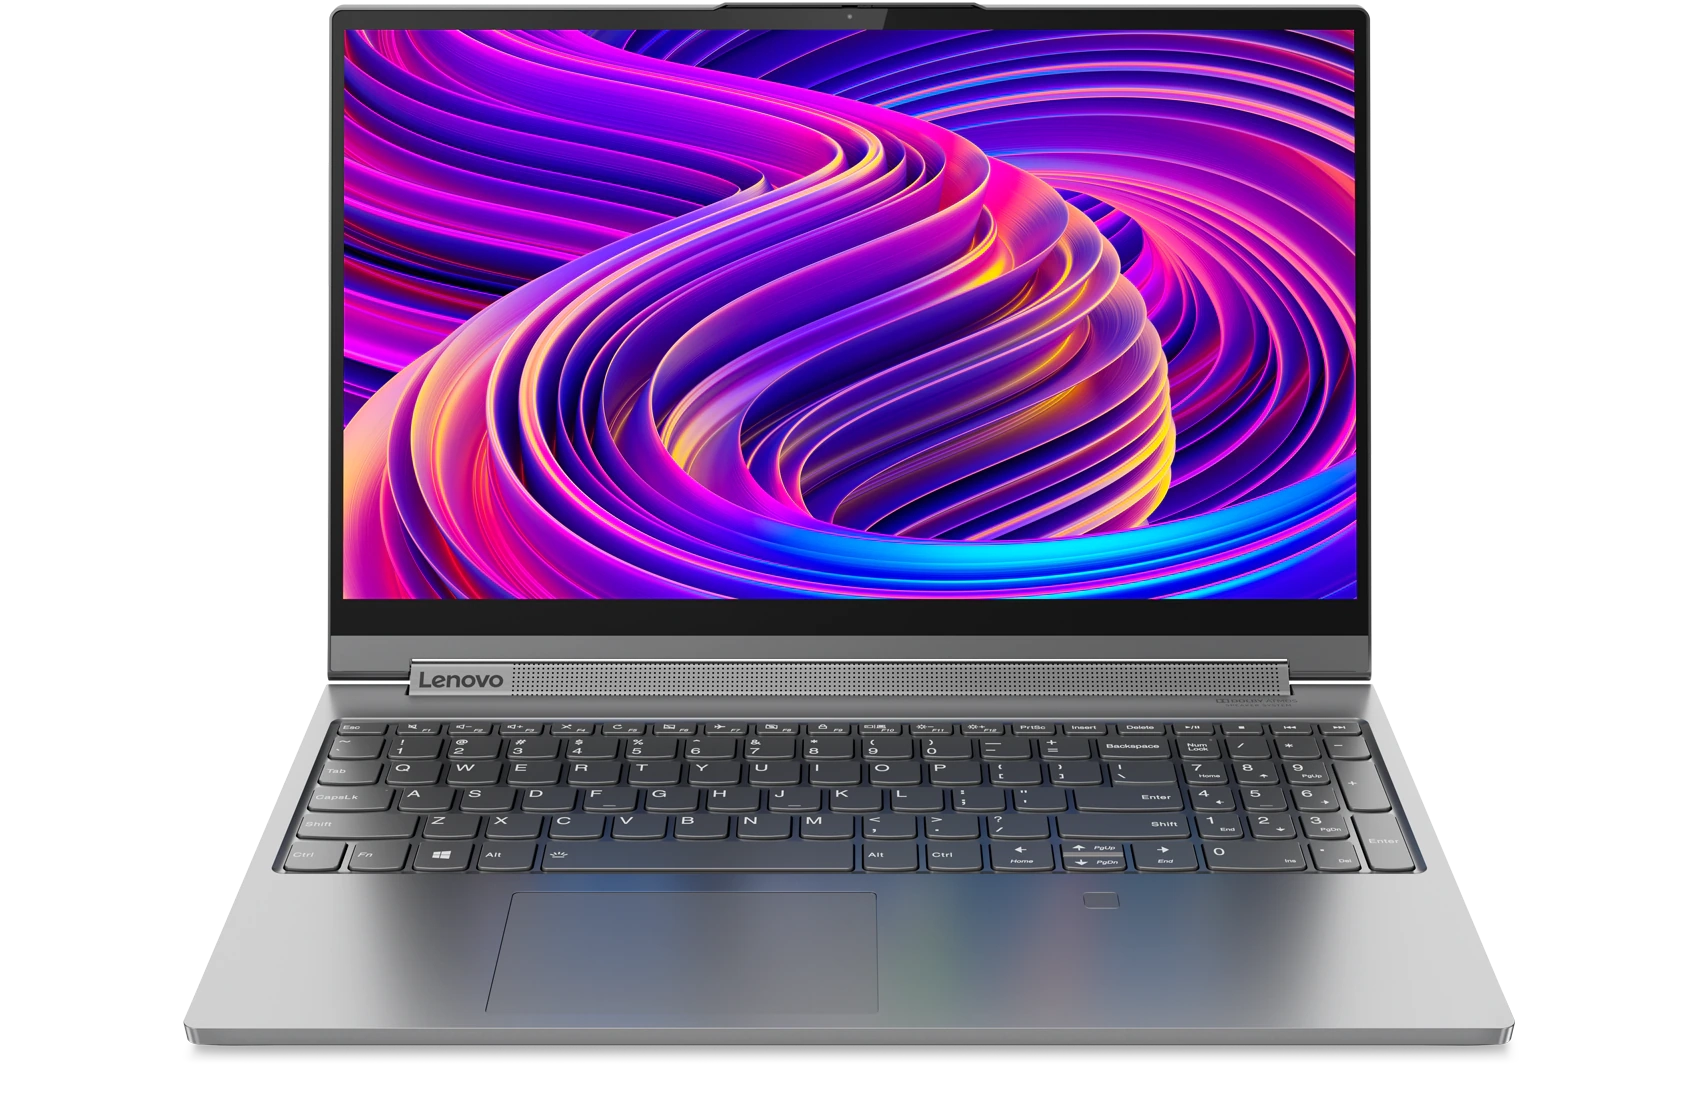

Shop Lenovo Intel® Evo™ Certified Products

Read More
Hide more
Read More


CLICK TO REVIEW IMPORTANT INFORMATION REGARDING LENOVO PRICING, RESTRICTIONS, WARRANTIES AND MORE
* The prices mentioned are exclusive of all taxes &octroi
**Actual battery life may vary depending on application usage, settings, features or tasks selected, network configuration, operating temperature and many other factors.
Availability: Offers, prices, specifications and availability may change without notice. Lenovo is not responsible for photographic or typographic errors. Other models are available. Find out more in Lenovo Authorized Retailers Shop.
General System Information: Review key information provided by Microsoft that may apply to your system purchase, including details on Windows 10, Windows 8, Windows 7, and potential upgrades/downgrades. Lenovo makes no representation or warranty regarding third-party products or services.
Pricing: Reseller prices may vary. Lenovo does not set reseller prices.
Warranty: Regional Carry-in Warranty is only applicable in ASEAN countries and China. Lenovo makes no representation or warranty regarding third party products or services.
Trademarks: Lenovo, ThinkPad, ThinkCentre and the Lenovo logo are trademarks of Lenovo. Microsoft, Windows, Windows NT, and the Windows logo are trademarks of Microsoft Corporation. Ultrabook, Celeron, Celeron Inside, Core Inside, Intel, Intel Logo, Intel Atom, Intel Atom Inside, Intel Core, Intel Inside, Intel Inside Logo, Intel vPro, Itanium, Itanium Inside, Pentium, Pentium Inside, vPro Inside, Xeon, Xeon Phi, Xeon Inside and Intel Optane are trademarks of Intel Corporation or its subsidiaries in the U.S. and/or other countries. Other company, product or service names may be trademarks or service marks of others.
open in new tab
© 2024 Lenovo. All rights reserved.
© {year} Lenovo. All rights reserved.
Enter Email to receive valuable updates
Please enter the correct email address!
Email address is required
Select Country / Region:

Please select a Country / Region
- ABOUT LENOVO
- About Lenovo
- News
- Investor Relations
- ESG
- Legal information
- Jobs at Lenovo
- Media Relations
- Product Security
- PRODUCTS & SERVICES
- Laptops & Ultrabooks
- Tablets
- Desktops & All-in-Ones
- Workstations
- Servers & Storage
- Product Recalls
© 2024 Lenovo. All rights reserved.
© {year} Lenovo. All rights reserved.
×