TRANSFORMATION
Smarter Technology for All
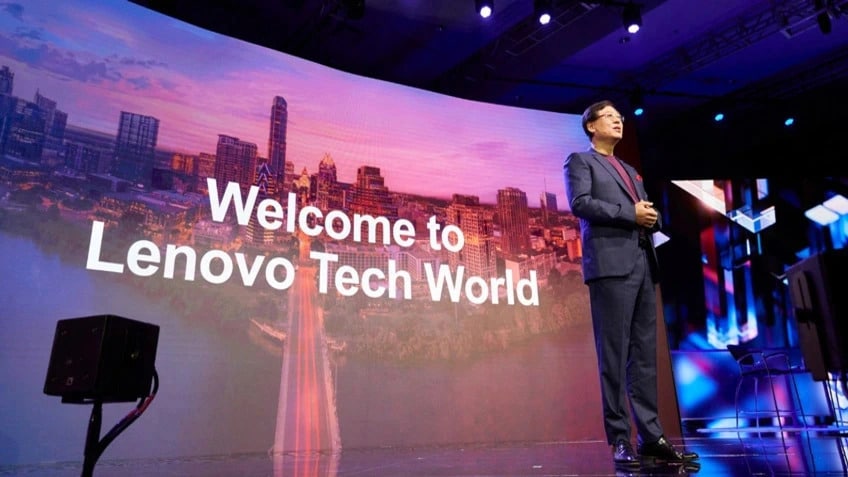
Lenovo is a global technology powerhouse, ranked at 196 in the Fortune Global 500, and a $69 billion revenue company that employs 77,000 people worldwide focused on delivering “smarter technology for all”. Building on our success as the world’s number one PC maker, Lenovo is expanding its research into growth areas to advance “New IT” technologies (client, edge, cloud, network, and intelligence).